


How to move Your Design from Figma to v0.dev.
From screenshot to code in minutes - with a couple of smart moves in between. Whether you are a designer, developer or startup group, this guide is for you. We are going to explore how to turn UI into working code faster.
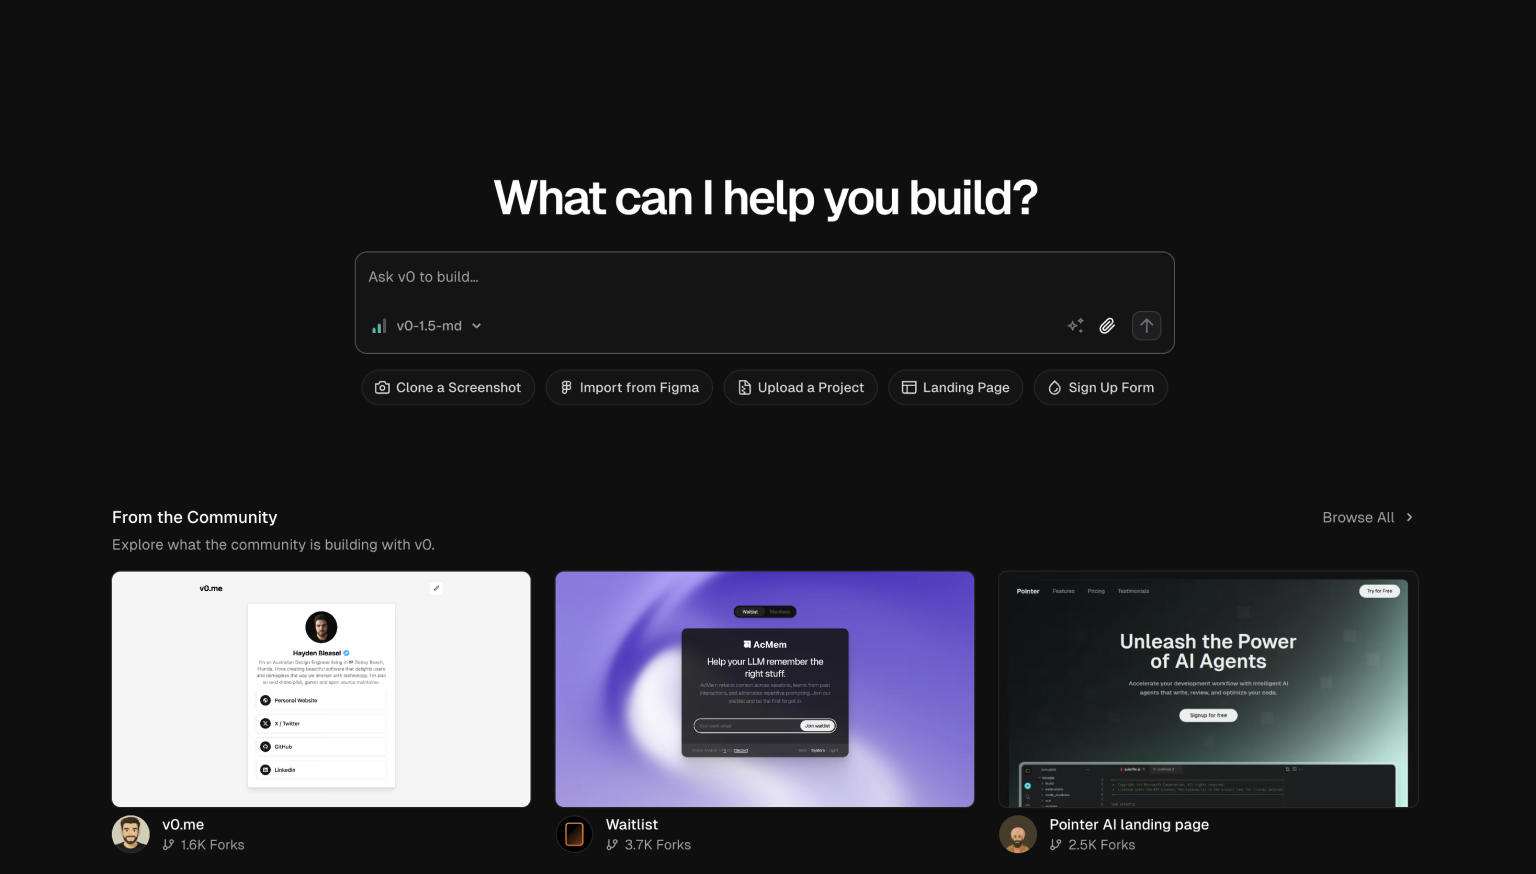
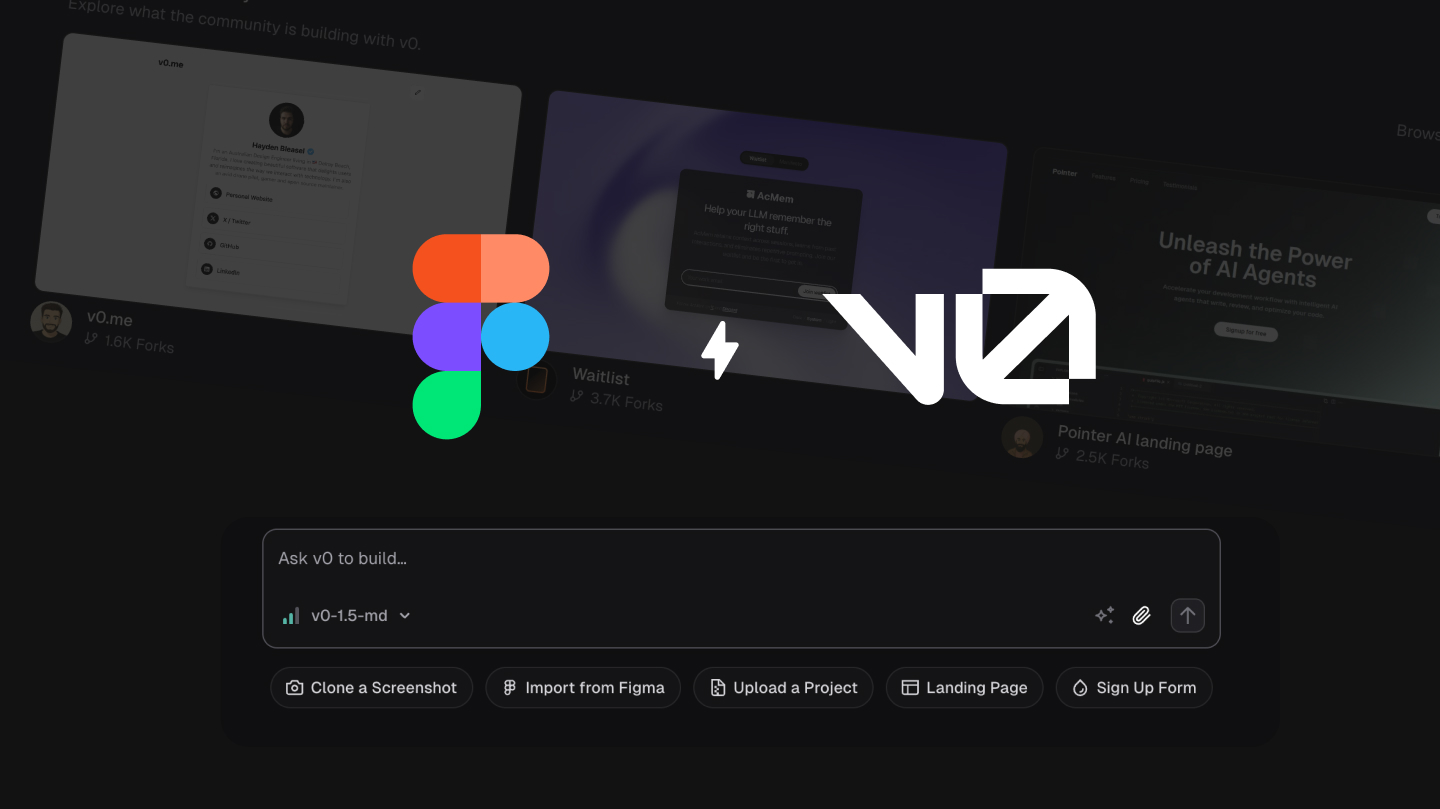
What's v0.dev and exactly why care?
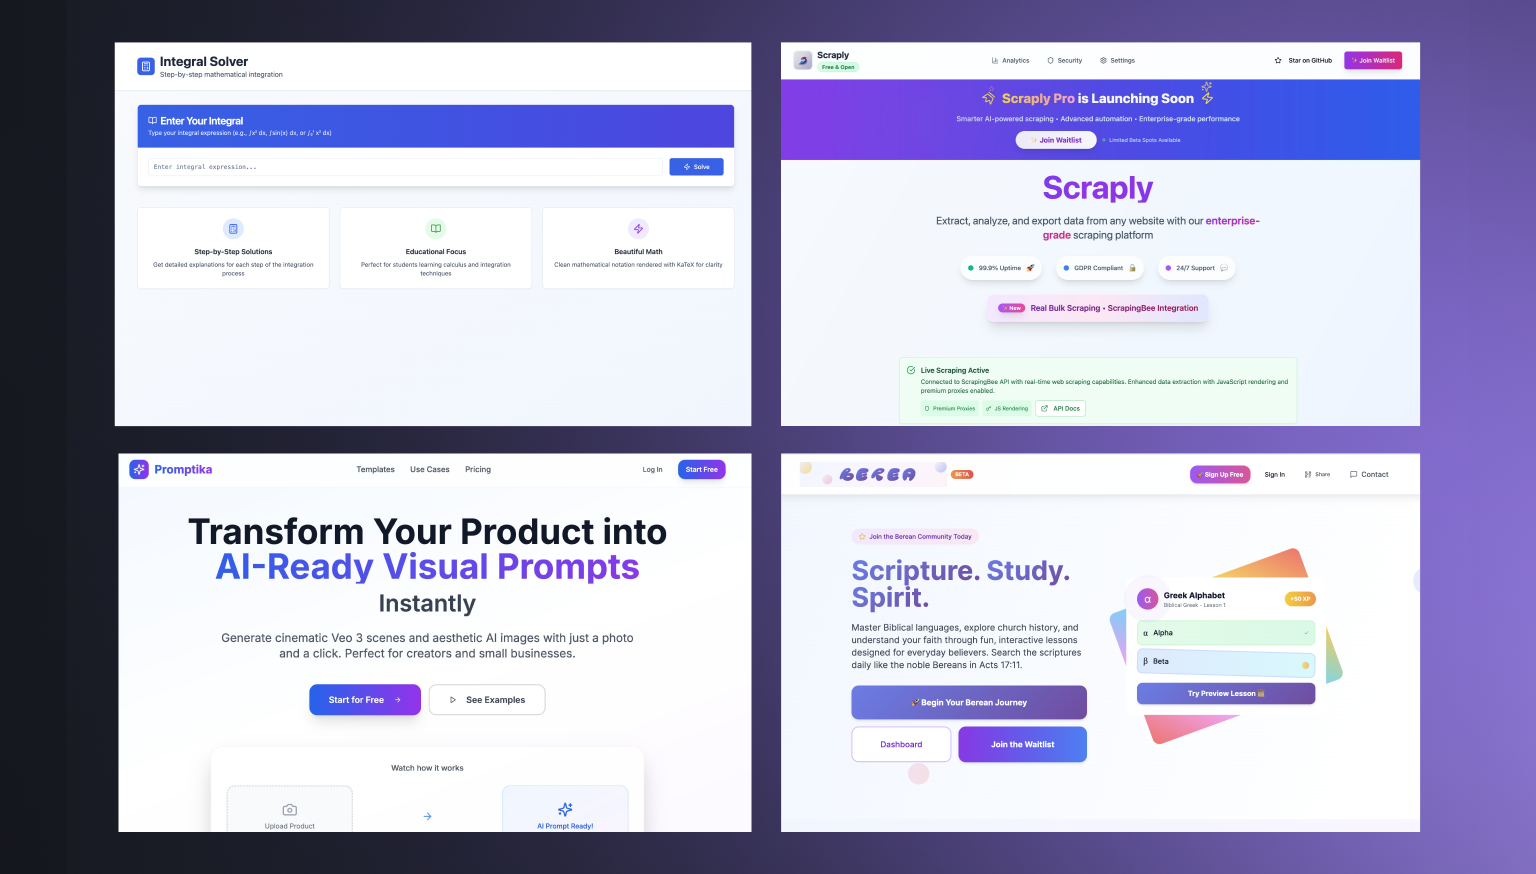
For people who haven't heard about v0.dev yet - an AI tool by Vercel which generates apps by prompts. You do your prompt, it creates and app with editable React code via shadcn/ui components.The problem is that a lot of designs look like this:
Prepare a styling prompt
In v0, the design is rendered directly from your prompt description. If you don’t define a clear style from the start, AI will generate inconsistent interfaces — with varying typography, colors, spacing, and component styles.
Example prompt:
“Background: Use the image I attached (underlay is concrete or industrial textured grey).
Typography: Google Font Lexend or similar.
Colors:
Body text: #242730
Emphasis: #3959FF
Buttons: Accent, with white text and rounded corners
The layout is responsive, should look good on both desktop and mobile.”

Essentially, a prepared styling prompt in v0 works like a Figma style guide or a design system in code — but in text form. Without it, your project will look like a collection of random, disconnected decisions.
Exporting to v0
1. Screenshot + Prompt
This is probably the fastest way to begin.
In Figma, take a screenshot of your frame (hide side panels, outlines, etc.).
Go to v0.dev and upload the screenshot.Add a brief prompt, add styling details into it.
Example prompt:
“This is a 3 card pricing section. Add hover effects. Use Tailwind spacing.”
Best is simple, clear language - v0 doesn't need a novel - tell it what you would like.
2. Ask ChatGPT to explain UI and use this promopt for v0
Go to ChatGPT, upload your mockup, and ask AI to explain what's on a picture and write a prompt. This is the prompt you will use:
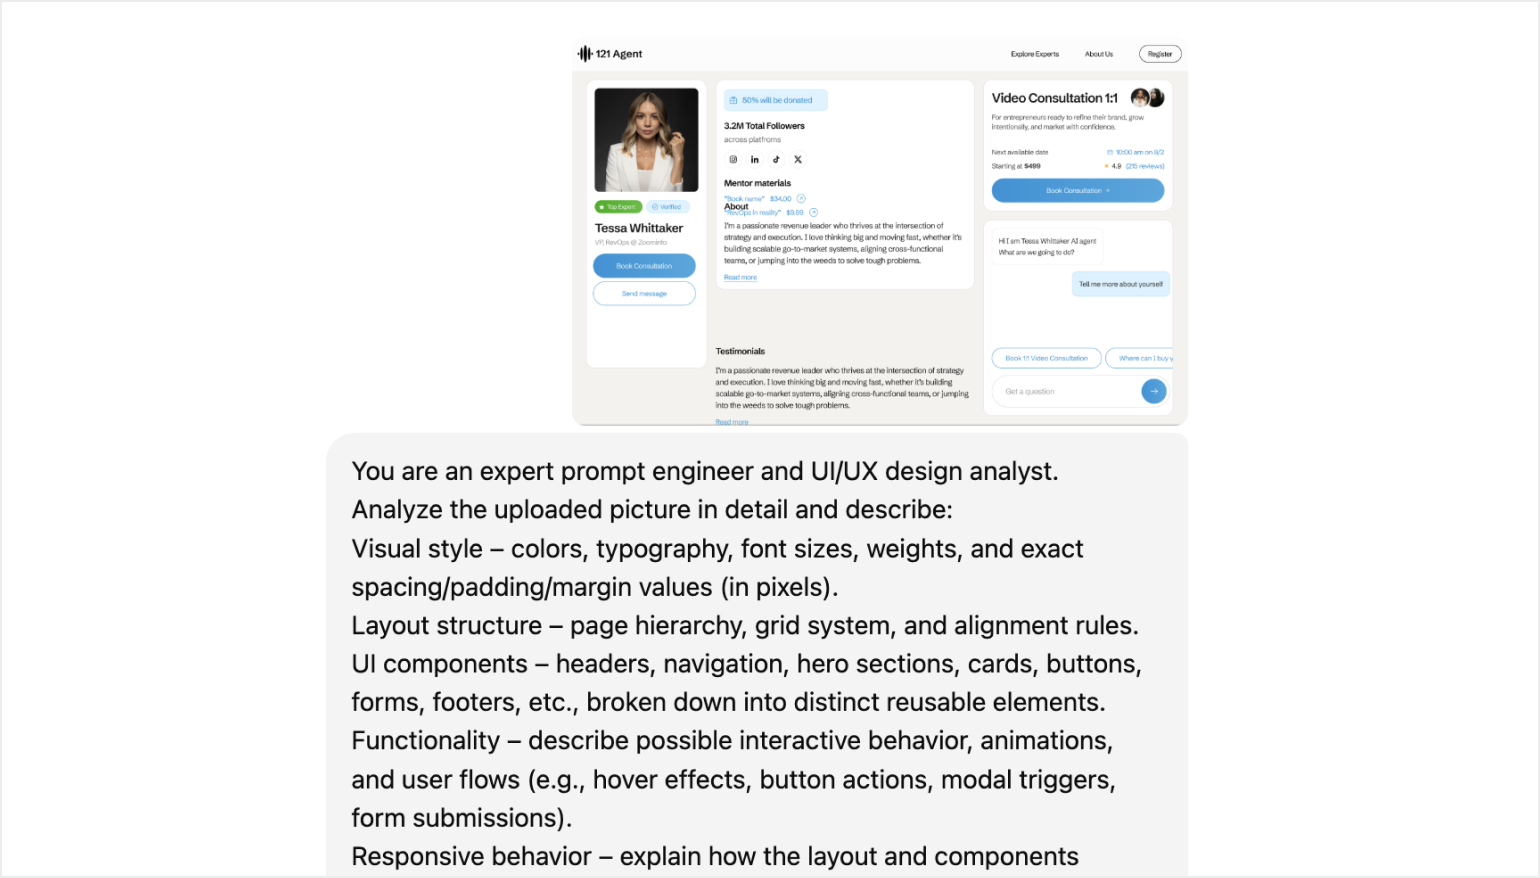
“You are an expert prompt engineer and UI/UX design analyst.
Analyze the uploaded picture in detail and describe:
Visual style – colors, typography, font sizes, weights, and exact spacing/padding/margin values (in pixels).Layout structure – page hierarchy, grid system, and alignment rules.
UI components – headers, navigation, hero sections, cards, buttons, forms, footers, etc., broken down into distinct reusable elements.
Functionality – describe possible interactive behavior, animations, and user flows (e.g., hover effects, button actions, modal triggers, form submissions).Responsive behavior – explain how the layout and components should adapt for mobile, tablet, and desktop, even if the mockup shows only one state.
Replication guidance – provide clear step-by-step instructions for recreating the design in React with Tailwind CSS, including component structure and naming suggestions.
Output in natural language, using plain UI vocabulary, but be precise and detailed enough for an AI web builder to replicate the design exactly.”
3. Manual Prompt from Structure (the slowest method)
If your UI is difficult to screenshot or you are tweaking manually, describe it.
Divide it into sections like:
- Header
- Hero with CTA.
- Features (cards, icons)
- Testimonials.
- Footer
Add extra details: color, fonts, buttons, layout behaviour.
For example:
“Hero block (first section): Heading and subheading from the original site. "Apply now" or "Respond" button. Background — use the image I attached (concrete or industrial style background). White or translucent overlay for text readability.
Background: Use the image I attached (underlay is concrete or industrial textured grey).
Typography: Google Font Lexend or similar.
Colors:
Body text: #242730
Emphasis: #3959FF
Buttons: Accent, with white text and rounded corners
The layout is responsive, should look good on both desktop and mobile.”
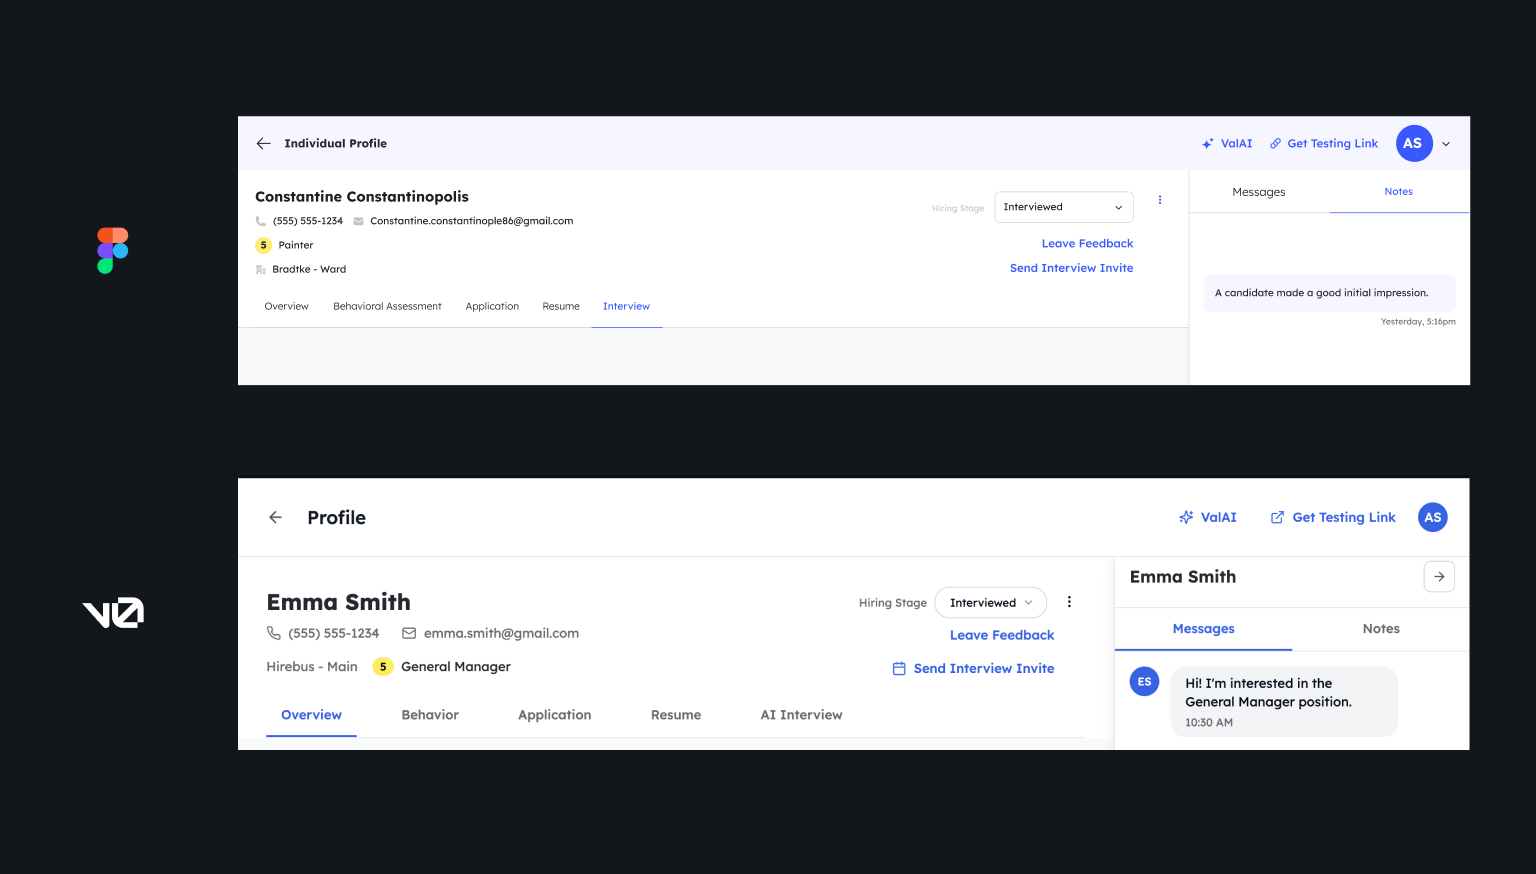
Refining in v0
Once v0 provides you with the code, that's your draft - not the final version.
So what to tweak:
Fonts: Check sizes, families, weights.
Spacing: Adjust padding/margins to suit your Figma.
Colors: Swap classes or tokens for Tailwind.
Structure: Rearrange components, edit text, add interactivity.
Use prompts explaining the issue to match with design.
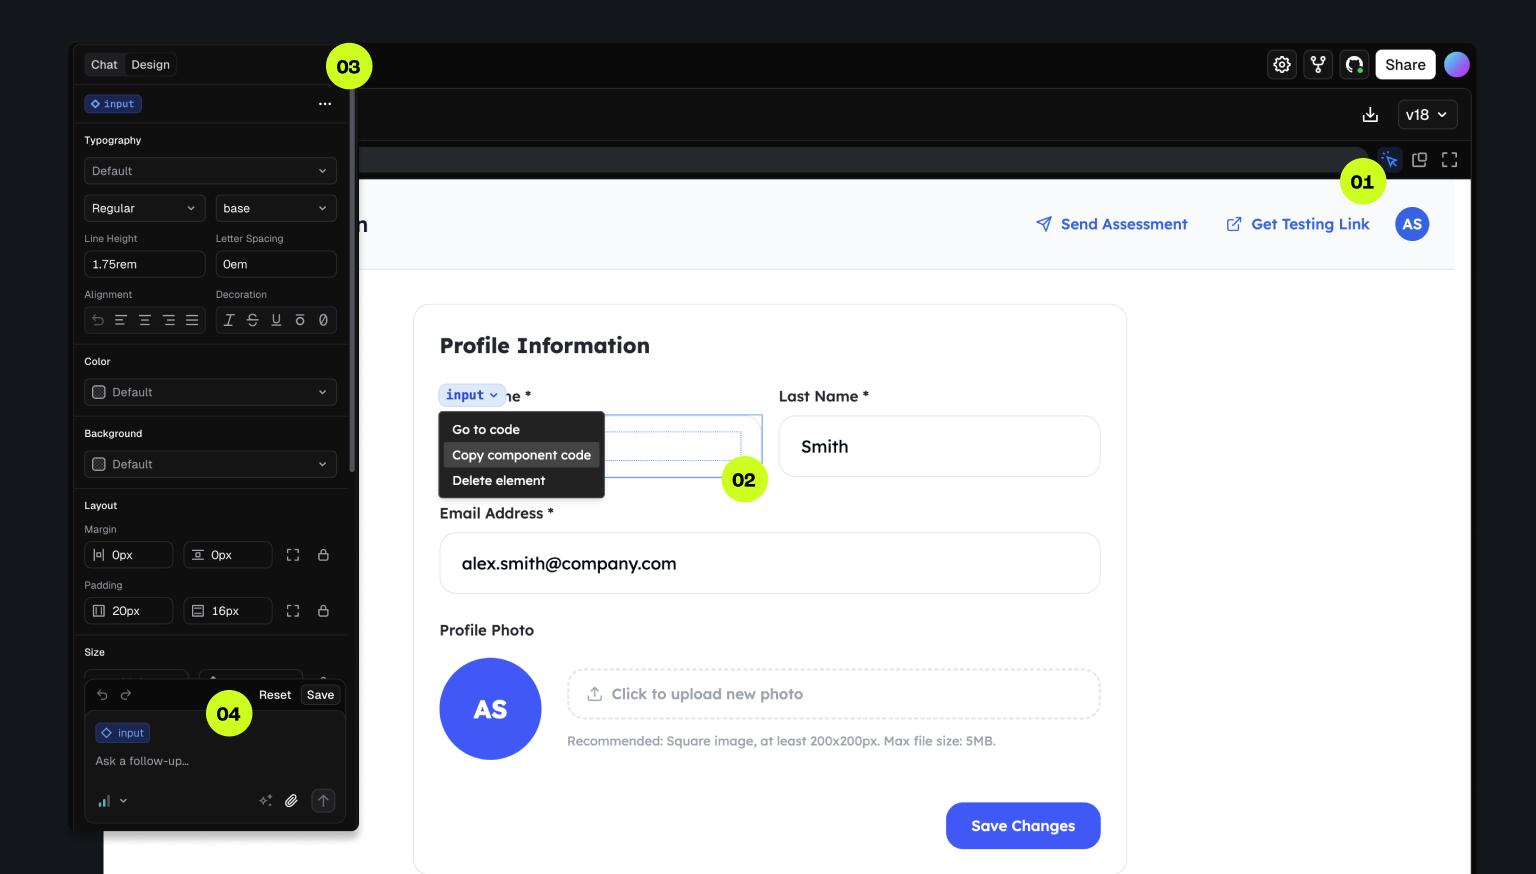
It all editable inside the v0 interface - much like an AI playground.
Tips for Better Results
Keep prompts short, easy and actionable.
Use real text and actual pictures for your design. It lets the AI understand context.
Ask v0 questions at the end of your prompt:
"Ask questions to understand the layout before generating."
For more complicated components (like modals, tables & graphs) break your UI into smaller areas and process each one at a time.
Feeling stuck? Write a much better prompt - ask ChatGPT. You can even:
- Share a screenshot.
- Explain the structure.
- Highlight unclear parts (e.g. red box = important area)
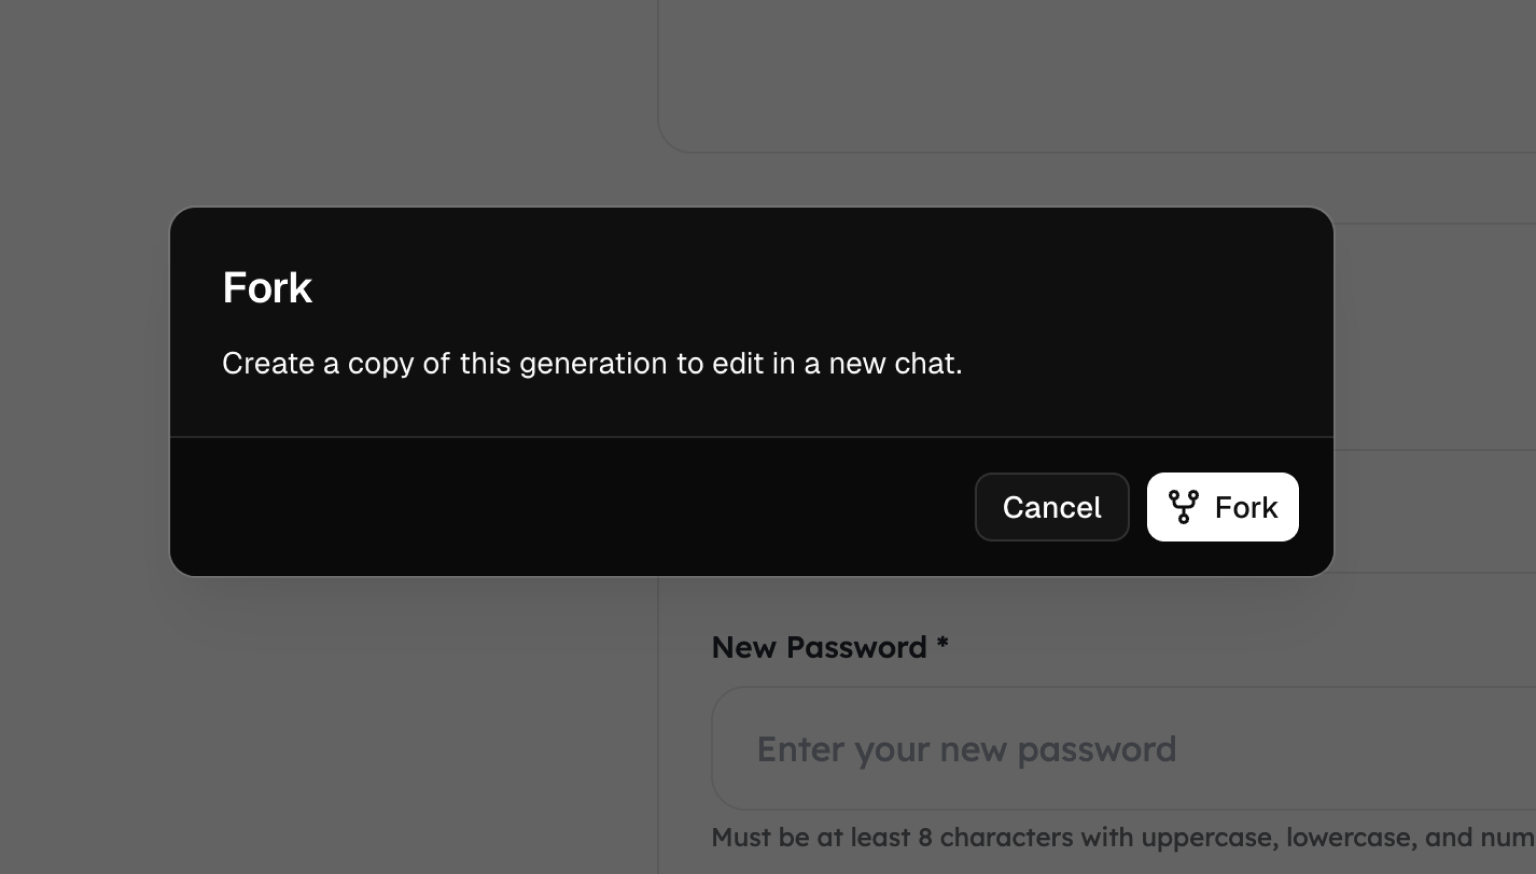
But what if it stops understanding you?
Fork the project inside v0 and adjust from there.
Start fresh or combine versions is quicker than debugging one messy layout.
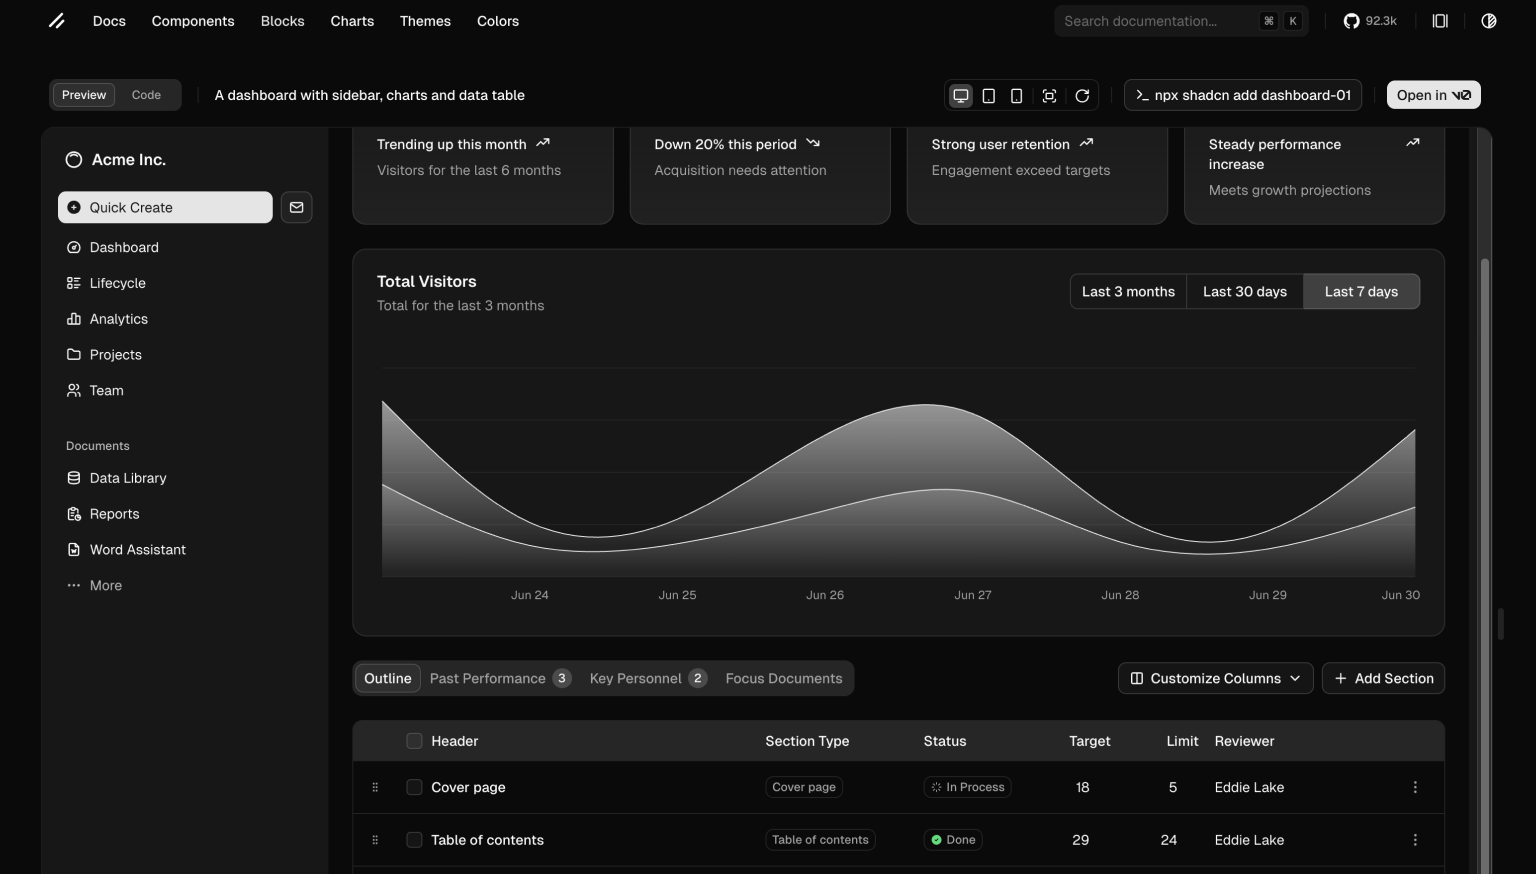
Working with Graphs & Complex Components
v0 utilizes the shadcn/ui library For charts, tabs, forms & fancy stuff.
That means you could :
- Import ready-made components.
- Swap them in easily.
- Style em with Tailwind.
In case you would like to visualize data, use recharts, chart.js or maybe other lib and embed it in your codebase after exporting from v0.
Export project from v0 to GitHub
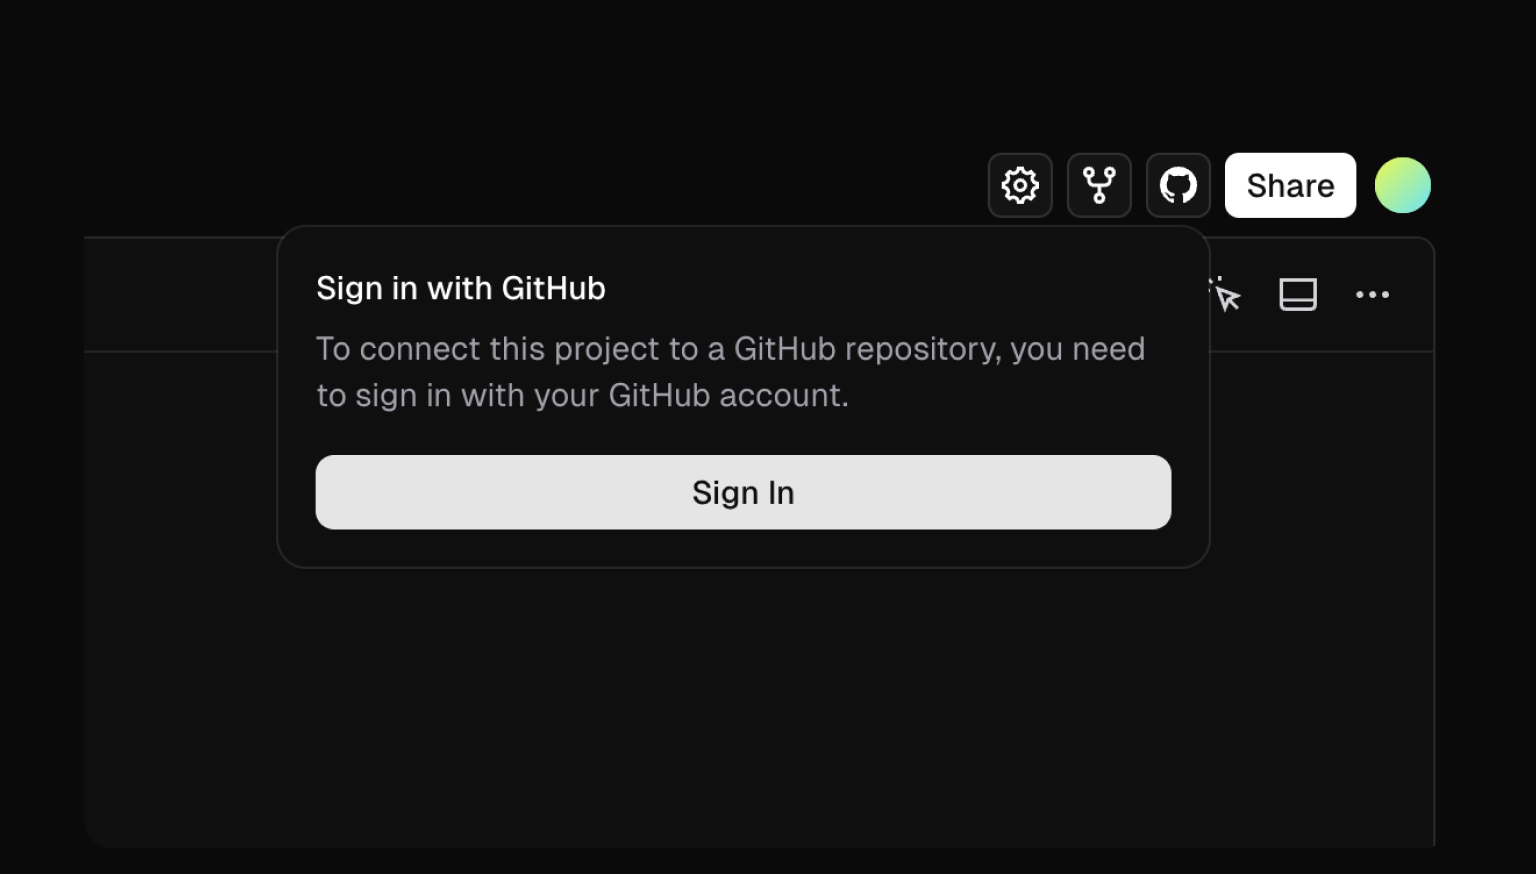
1. In v0, open the project you want to send to GitHub. Sign in to GitHub if you haven’t already.
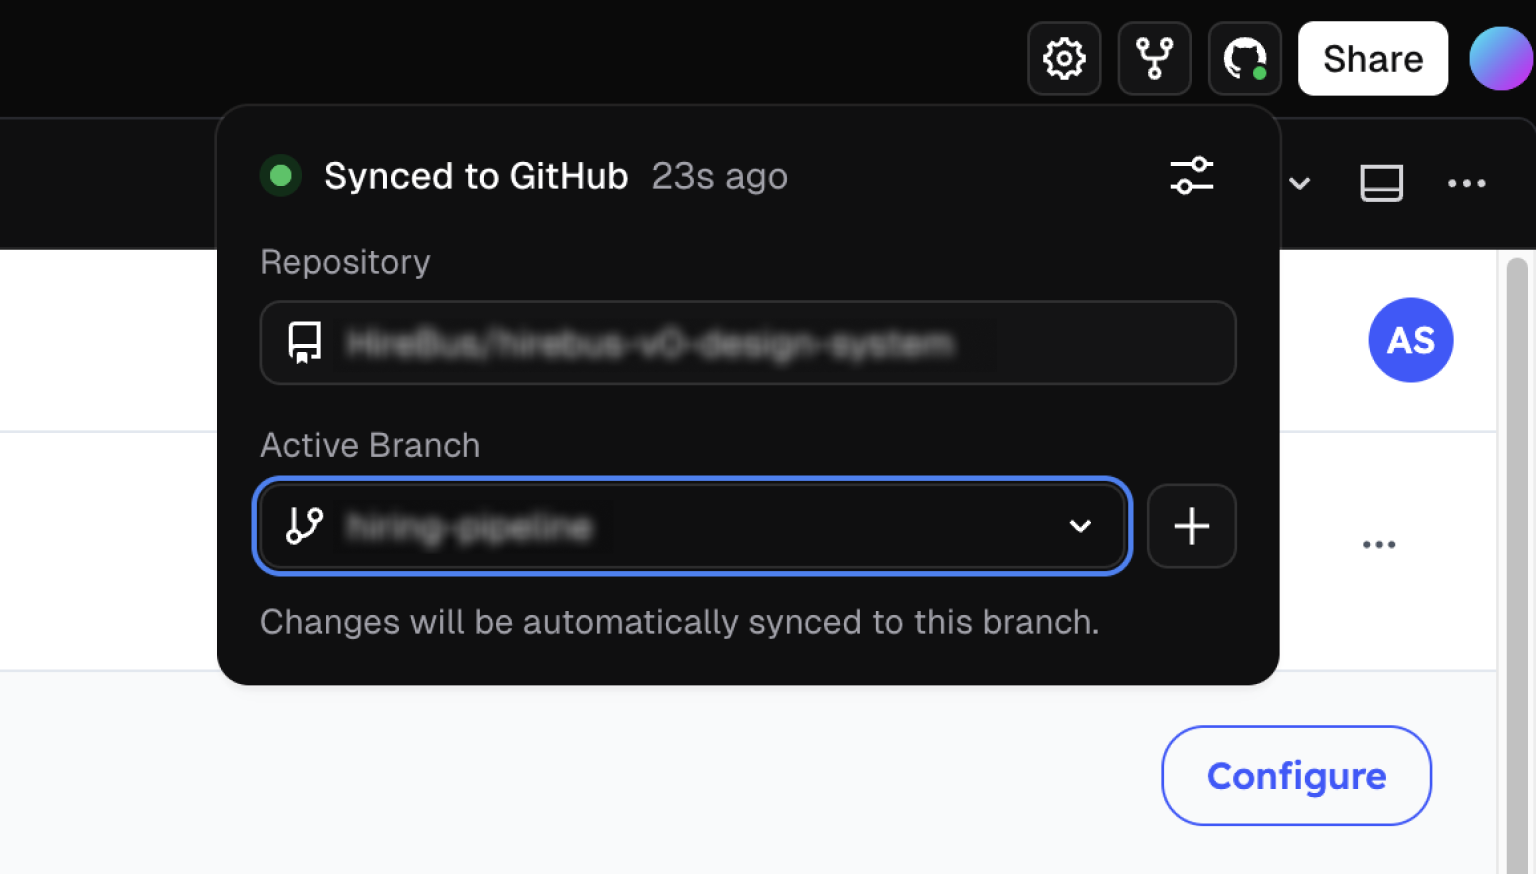
2. Create or pick a repository You are able to Select an existing Repository or create one straight from v0.
3. Set the branch By default the code is pushed to the main Branch.You are able to pick another branch in case you wish to decouple it from production code.
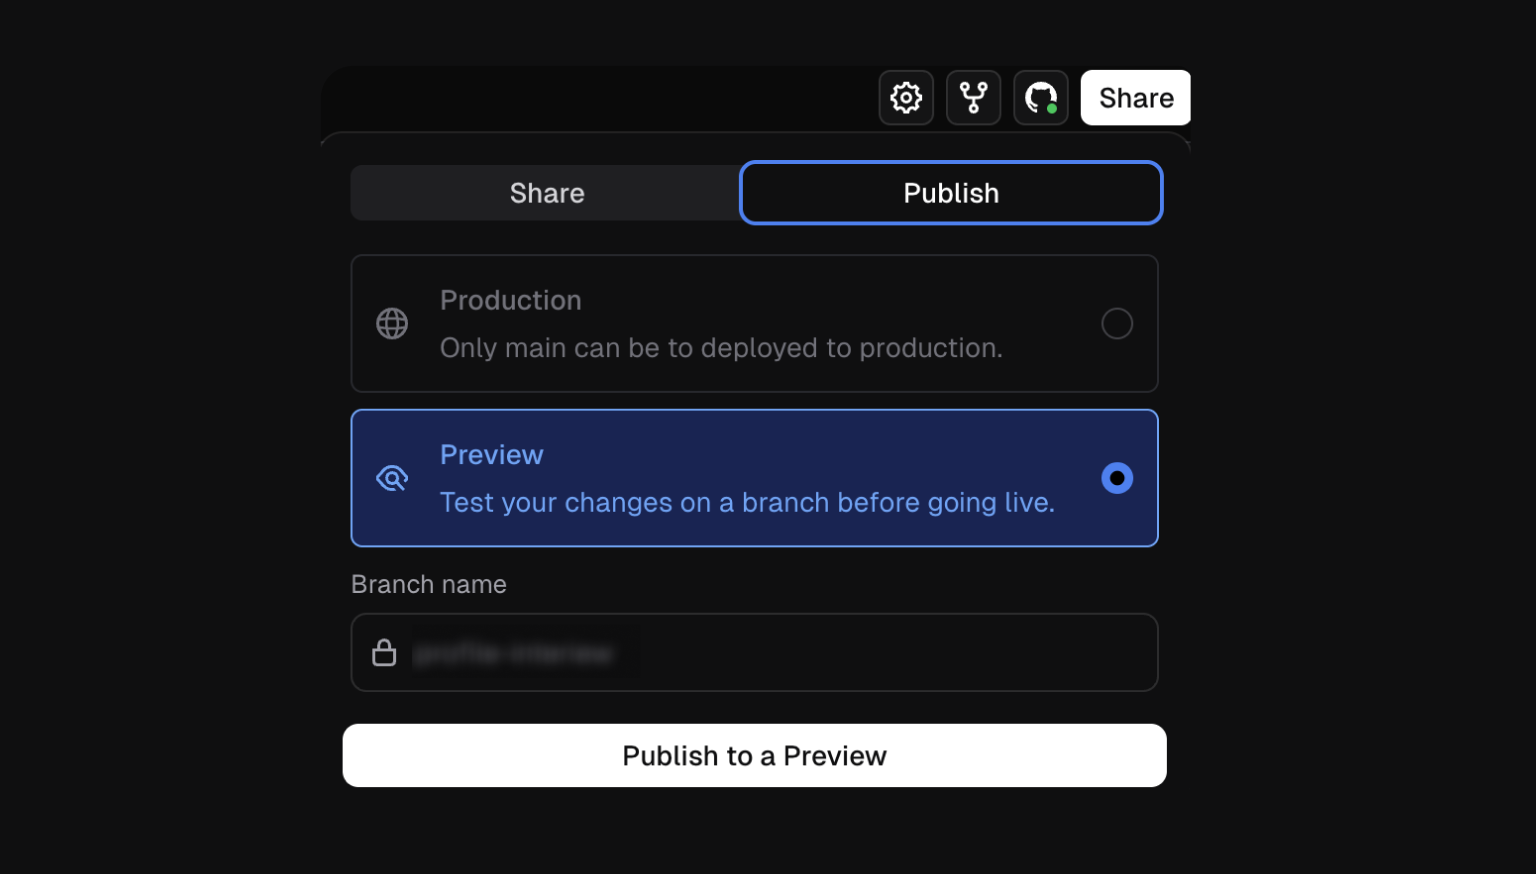
4. Click "Publish" in the top-right corner.
Choose "GitHub" as the publishing target. v0 will generate the code and push to GitHub.You are able to see the full project source code, styles, package.json, pictures on GitHub.
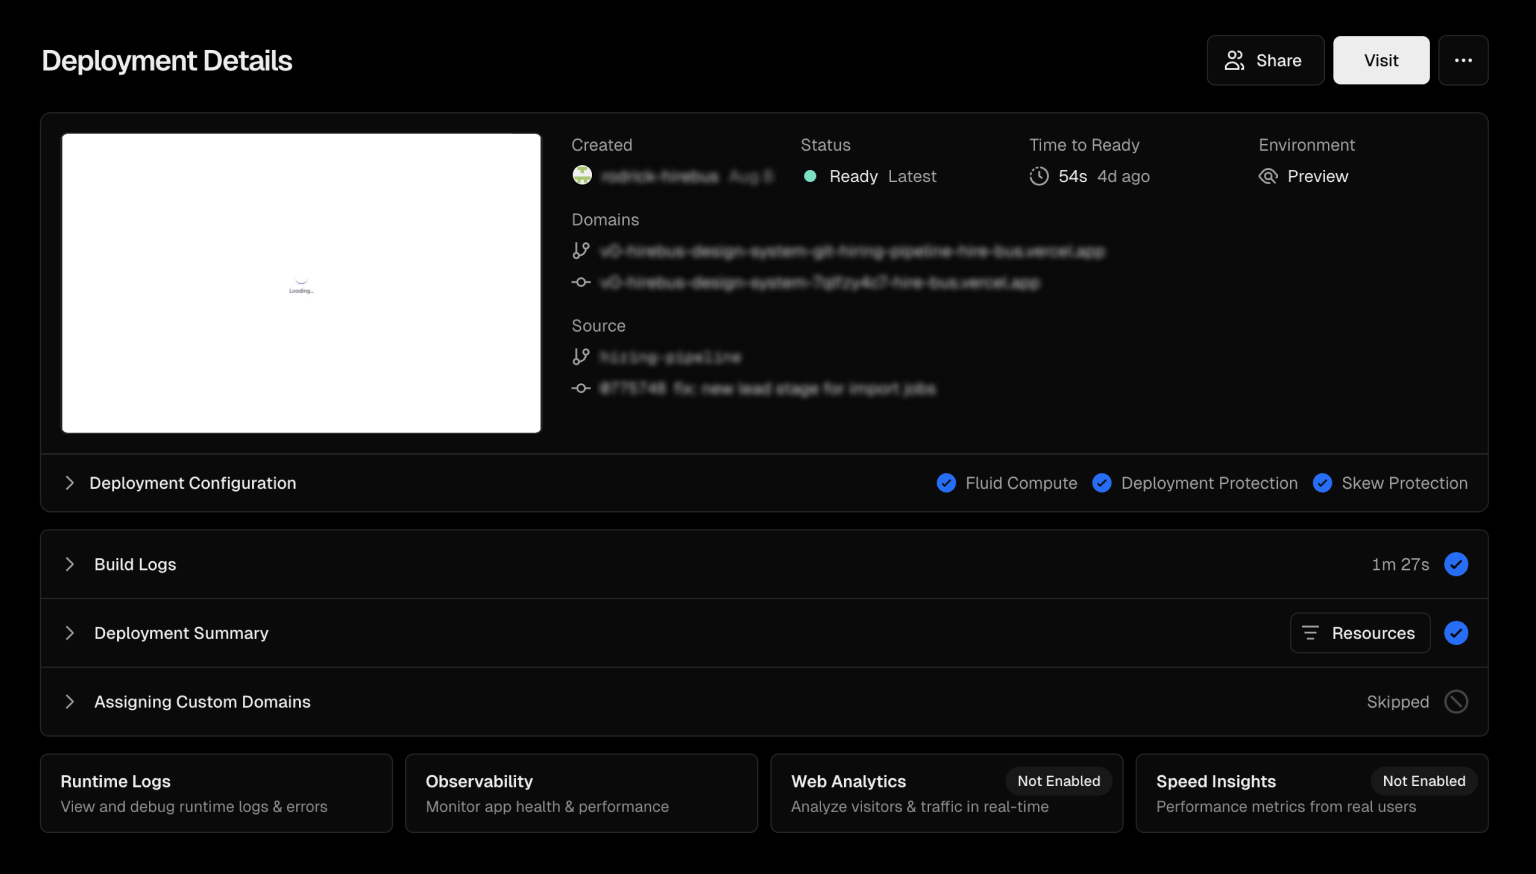
5. Continue Working with the Code After export you can easily :
Clone the repository & work locally.
Set up CI/CD for automatic deployment (e.g., Netlify or Vercel).
Why manual refinement matters
AI gets you 60-80% of the way. But polish still needs a human touch:
- Fine-tuning hierarchy.
- Mobile responsiveness.
- Edge cases 1and1 accessibility.
- Naming, structure & consistency.
Think about v0 as being your intern : Fast, talented but needs direction.
In short:
It took hours (or days) to move from Figma to code.
Now with v0.dev you are able to skip right to the fun part - {refining and launching|launching and refining}.
Use screenshots or structured prompts, clean them up inside v0 and off to the races.


